|
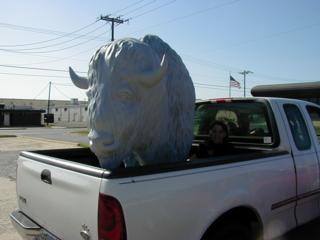
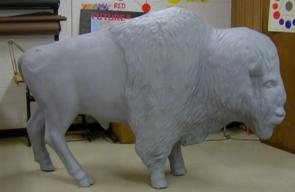
And so, with about fifteen of the initial fiberglass
buffalo left, we set out to the warehouse to pick one up and
transport it back to my classroom in McLoud, OK. Two of the
conference pastors brought their truck to haul this 120 lb.
shell back to the classroom. The base is solid steel and
outweighs the buffalo by about twice as much.
|
|
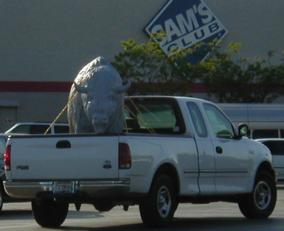
We had to make a couple of stops along the way for rope
and a new car battery for my vehicle, but eventually we got
the buffalo tied down and onto interstate 40 for the
journey.
|
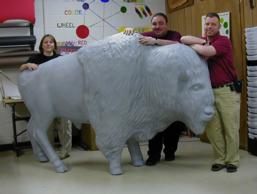
It is a good thing that this shell fit through the
classroom door. I had initially measured it and it has about
one and a half inches of clearance between it and the metal
door jam. As long as the tiles are less than half an inch
thick on the sides, it should be able to leave the classroom
as well. The base, however, will have to leave the room
separately.
|
|
The buffalo is in the classroom, so it is now time to
begin the transformation. It came pre primed, and with only
three weeks left in the school year, we must now cover this
shell entirely in ceramic tile and grout. We eventually
temporarily attached the base to this sculpture for
stability.
|
|
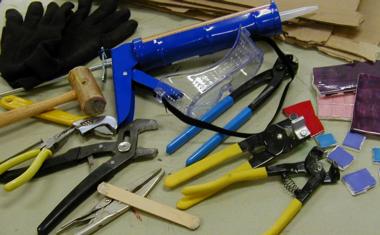
First I had to assemble some of the proper tools. I
pulled out several pairs of pliers and wrench like vises.
Safety gloves and goggles are a necessity any time a project
includes sharp edges and smashing as a process. I also
specifically bought tile pliers, and tile and cement
nippers. The initial adhesive that I purchased was liquid
nails in calking tubes.
|
|
The tiles for this project are being donated by Ann and
Larry from their ceramic business. They have gotten behind
this project from the beginning, and have been handing off
boxes of tile to me at church. These tiles have been scored
for breaking with tile pliers.
|
|

|
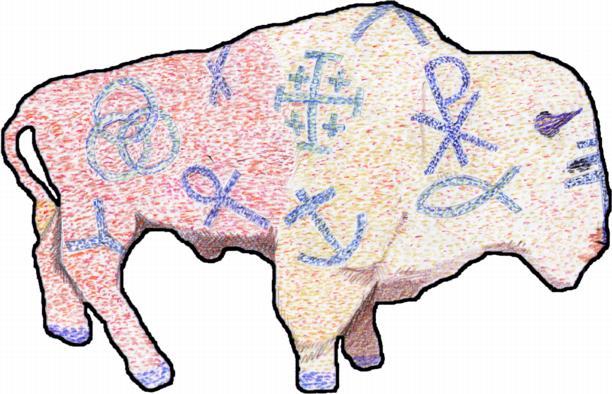
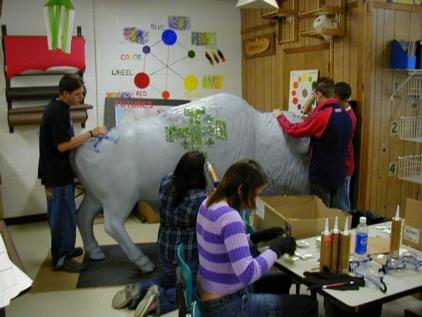
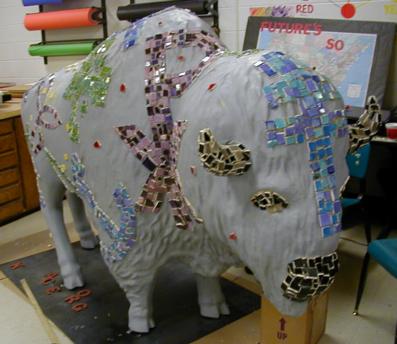
Also, before any of the tiles could be placed, I had to
pencil in the icons. After looking at the texture of the
buffalo, I decided to make the icons on the lumpier forward
areas thicker than my initial design. This would add more of
a weighty feeling to the hump and shoulders. This changed
some of the placement of the icons, but did not
significantly alter the overall design.
|
|
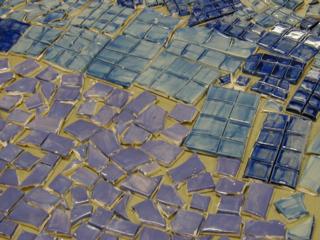
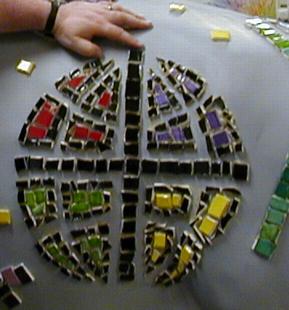
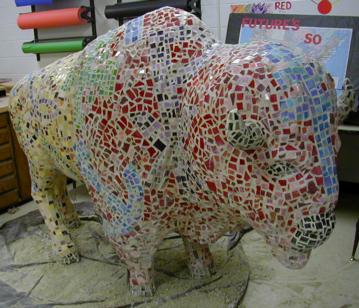
After a little preparation, we have begun the first part
of the tiling process - filling in the icons with mixtures
of cool colors. In order to play up the entire mosaic idea,
I decided to have boxes of colored tile 'mixes'. So there is
a box for blues, one for greens, one for violets, etc.
Whenever one of the areas calls for a certain color, the
mixture of tiles covers a wide range, eventually mixing in a
pointillistic technique.
|
|
The tiles are often wider than the textures and crevices
of this sculpture. The colors are used to differentiate
areas like the nose and eyes, but most of the details in the
contours are lost.
|
|
Still, careful breaking and cutting does allow for
detailed outlines when necessary.
|
|
|
|
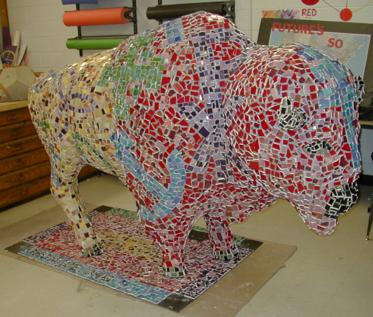
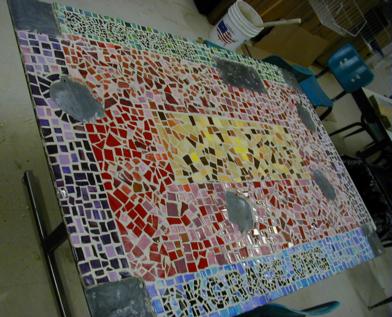
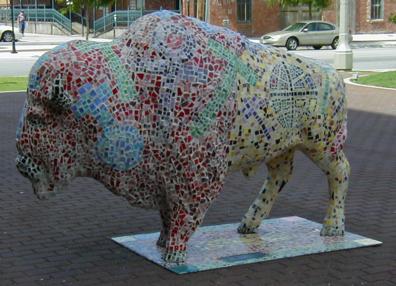
It took a couple of weeks to completely cover the Buffalo
sculpture an its base. There are some empty patches left in
the corners of the base for tiles with writing on them.
Everyone who worked on the buffalo was allowed to sign a
corner tile in under glaze. Those tiles were added later
after they had been fired.
|
|
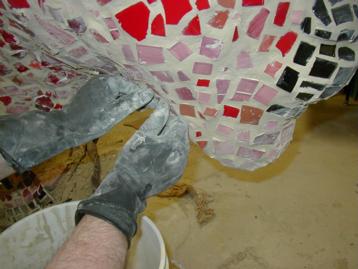
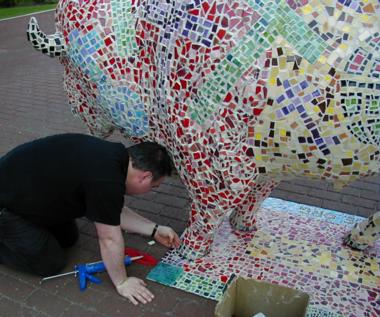
The grouting was done all in one day. We used large
rubber spatulas for a lot of the open areas, but with the
intricate angles and curves on the buffalo, a lot of grout
had to be added with fingers. The base was rather simple to
grout by comparison. After four 25lb bags of grout, it takes
a toll on the fingers, even with rubber gloves
available.
The grout was left to cure for a couple of days before we
used brushes to coat it with a gallon of sealer. All told it
was about seven coats. Then we buffed the sealer off the
tiles, allowing them to shine.
|
|
|
|
|
|
|
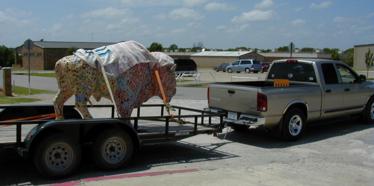
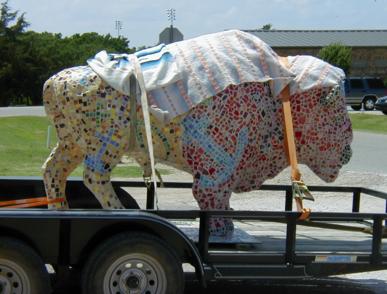
Some of the High School faculty came out and gave the
buffalo a lift onto a flat bed truck that we arranged for
transport. The buffalo and the base were moved separately,
and then bolted together for stability.
|
|
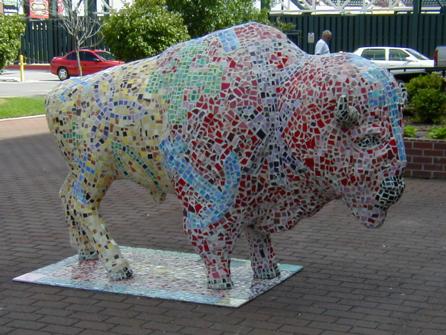
Once at the display site, we removed the buffalo from the
flat bed by unbolting it and removing the buffalo and base
separately once again. When it was positioned and rebolted,
I pulled out my repair kit and replaced two tiles that had
been knocked off the end of a hoof.
|
|
|
|
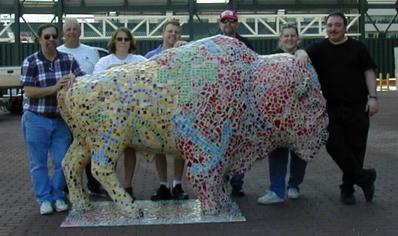
Some of the crew at the display site stuck around for
some pictures.
|
|
|
|
 Tile
Mosaic
Tile
Mosaic