 Paper
mache Paper
mache
 If
you do not mind getting some flour and water on your hands,
making solid feeling and durable forms is actually quite
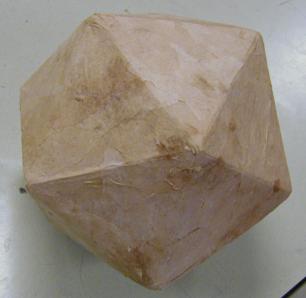
simple. In this case I will make an icosahedron (a 20 sided
regular polyhedron). If
you do not mind getting some flour and water on your hands,
making solid feeling and durable forms is actually quite
simple. In this case I will make an icosahedron (a 20 sided
regular polyhedron).
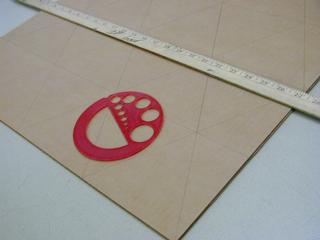
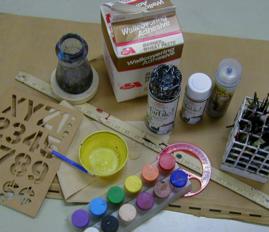
For this project I have gathered together a large piece
of cardboard from the side of a refrigerator box, a
protractor and yardstick for making straight lines and 60
degree angles, some scrap paper, some wheat paste, and some
assorted paint and tape.
|
The first step includes ruling out 20 equilateral triangles of the
same size. Each corner angle will be 60 degrees and each side is six
inches long. Once measured and drawn, the triangles are cut as
precisely as possible. This can be cut with a strong pair of
scissors, a box knife with a cutting board, or just a very strong
paper cutter.
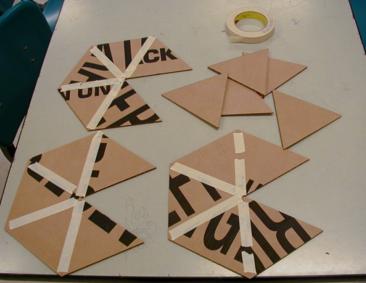
Once separated, the triangles need to be reassembled into their
new shape. An icosahedron is merely one shape that can be assembled.
With different numbers of triangles, more shapes may be achieved.
Other building materials are usable as well. Balloons and chicken
wire both make good supporting structures for paper mache, although
not necessarily at the same time.
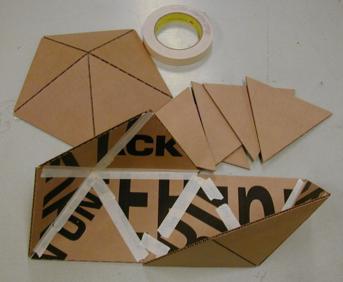
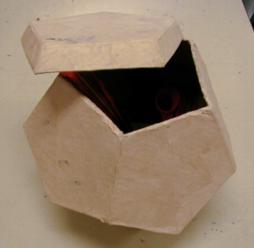
Tape is first applied to the inside of this structure to aid in
the 'hinging' of the triangles. Tape on the outside will probably
work fine as well, but it may bunch oddly until the final shape is
achieved. If you want to make object into a piñata, this is
the time that the candy should be placed inside.
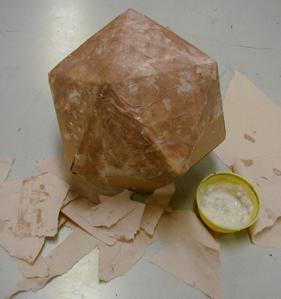
The wheat paste should be mixed with a minimum of water. Ideally,
it should be the consistency of thick oatmeal. It can be mixed
thinner, but the more water in the paste, the more likely the
cardboard is to warp. The normal manner of application includes
dipping scrap paper into the paste, rubbing the paste into the paper,
gently removing any excess paste with fingers and wrapping the form
in multiple layers. The entire form cannot normally be wrapped at
once, since a dry portion must be left on which it can sit. I wrapped
most of it and then allowed it to dry over night. When I returned the
next day I turned it over and wrapped the last couple of triangles.
Multiple layers can be applied to make the form stronger.
The scrap paper used here is actually institutional paper
toweling. Any cheap and absorbent paper will work well including
newspaper or copy paper. I used paper towels because they dry strong
and are evenly colored with a nicely porous surface fit for holding
paint.
Once dry, the form can be either covered with more layers of paper
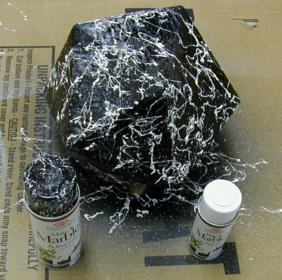
or painted. Decorations may also be applied if desired. I plan to
make this shape into a 20 sided die, and I want it to have a marbled
look. For this project, I have chosen 'Make it Marble!' Tuscany Black
spray paint for a quick marbling effect. This sort of paint gets all
over the place, and so I have used another panel from the same box as
a drop cloth. Since it takes a while to dry, I let the base coat set
over night before turning it over and spraying the bottom.
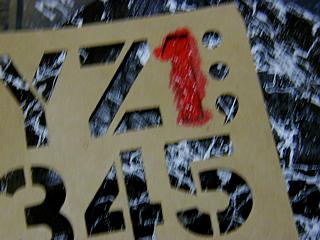
Putting numbers on the sides is easiest by using a stippling brush
with acrylic paint and stencils. To increase durability, I sprayed
the entire shape with a couple layers of clear spray paint to seal
the numbers.
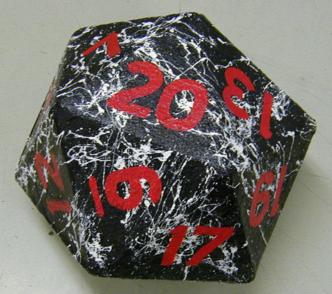
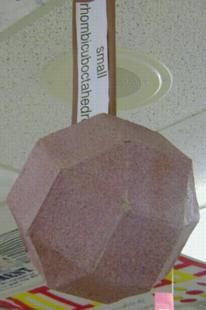
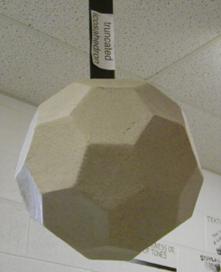
By using the same techniques, any desired shape can be built and
finished. Here are just a few.
Return
to top of page