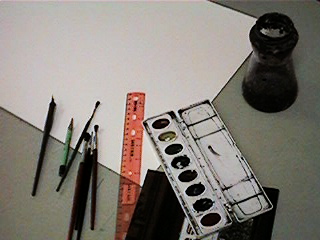
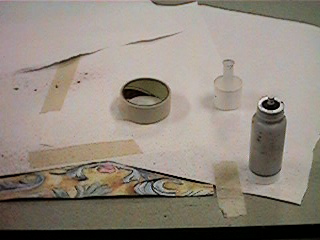
For this piece of artwork, I have pulled out some watercolor media. Here are some of the basic tools and materials that will be used in this exercise. Watercolor paint comes in blocks, tubes and pans. This is a standard Prang brand oval-8 set, a good brand of paint that is actually very affordable and provides the basic primary (red, blue, yellow) and secondary (orange, green, violet) colors. Black and brown are also present in this set, but they do not get used much since they tend to muddy the colors when mixed. Using white watercolor is considered poor form, and it does not come in this set. In watercolor, white and light colors are preserved from the beginning by carefully not painting or staining the paper. The paper here is a basic student grade 180# bond (relatively thick). Also pictured are various brushes, a standard #2 pencil, a ruler, a dip pen, and a jar for water. Some other materials will be used for this picture, but this is a basic set of tools that should part of any artist's supplies.
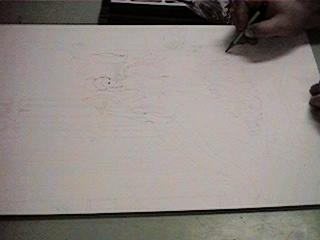
Once again, a lightly penciled contour line drawing is necessary. In this case some of the references are photographic, while others are made geometrically. It is important here to establish a basic horizon (eye level) for the placement of vanishing points for the architecture. Vanishing points may be off the page, but they will guide the contours and generally make it easier to place objects not found in the original photograph. Even if you plan to use a photograph for a reference, it helps to set vanishing points so that elements can be moved and kept to scale. Locating where parallel lines converge in the original picture requires a ruler for accuracy. You can thank a 15th century architect named Brunelleschi for first writing down all the rules of linear perspective that we take for granted today.
The floor tile is first painted in as a wash. Then the darker browns are applied after the main tinting has dried. This brown color is a mixture of blue and orange, which allows for darker variations by adding more blue or using less water. Wood gain texture lines have also been added with a watercolor loaded pen, especially over the lighter areas. The carpet is painted in with orange yellow and light blue washes, then details are added with a pen. The general rule of water color is that we work from light colors to dark colors because dark paint will cover light paint, but light paint will only darken or muddy dark paint. This painting will follow that rule in sectional areas. Here the carpet, and floor are treated as one section.
Color consistency is difficult when using watercolor in this manner. A plastic palette has been used to mix large quantities of some of the colors, but it still tends to stain the paper unevenly. There are three approaches to this phenomenon. First, the paper can be pre-wet and stretched using paper tape. This gives a more even and tighter surface on which to paint. Second, higher quality watercolor paper can be used. This paper is relatively inexpensive, and does not handle stretching well to begin with, it has large fibers which show up as uneven darks in lighter areas as well. Finally, we can decide to let the watercolor be a bit uneven, often finding its own course through the image. This is not the same as giving up, since we still exercise control over much of the paint placement, but it does give a very painted look to the surface of the image.
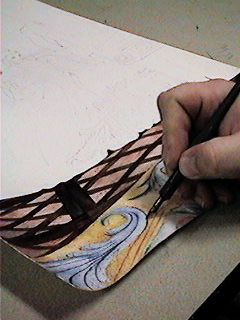
Objects closer to us will necessarily have more detail. They appear larger so the detail is larger as well. To create a more convincing detailed texture look for the carpet, I have decided to speckle its coloration. Here, the carpet area has been masked from the rest of the picture and a watered down brown (orange and blue again) is sprayed over it with an air pump atomizer. This creates a mottled speckle over the entire surface. Some individual carpet fibers are also added using a pen with water color as above.
Once the floor and carpet seem complete, the walls are relatively simple. They have been completed using the same basic light to dark scheme as the floor, with special attention given to the shading of each area.
The interior architecture relies on vanishing points and increasing detail. Linear perspective is a very powerful tool, but the outside world is more flowing and organic and using strict vanishing points would tend to make it appear rigid. Here we will rely on the observations of Leonardo da Vinci and use a different set of perspective rules to create the "perspective of disappearance" or "atmospheric perspective."
The key concept to focus on when using atmospheric perspective is that the farther away something is, the less contrast it seems to have with its surroundings. Over very great distances objects may also appear bluer when seen through clear air or more orange brown when seen through smog.
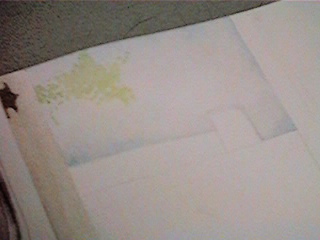
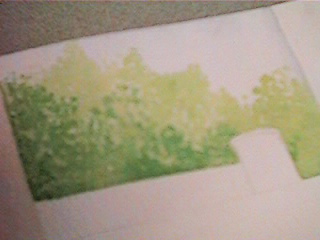
After allowing a light mottled wash of blue across the sky to dry, the leaves and branches to be seen farthest from us are added. Darker paint covers lighter paint, and it is best to work from the back to the front, since the colors in the background will be lighter and less intense.
At this point it is also necessary to preserve the outline of the wall, since it will not only be painted relatively light as well, but it will also change in basic color from the leaves behind it.
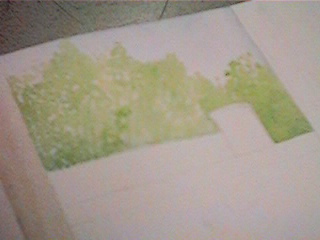
As the trees appear closer to us, they become darker still, contrasting more with their background and other foliage around them. A brush or small sponge is used to mottle the leaves in non uniform patches. The paint is very watery at this point, and only a little bit is used at any time. Too much paint on the brush will cause drops to flood areas of the trees and look less leaf like.
Some details are added in the closer trees as well, completing the illusion of space. Our eyes assume that the farther trees are just to far away to discern details. Adding a little detail as we get closer only served to reinforce this illusion.
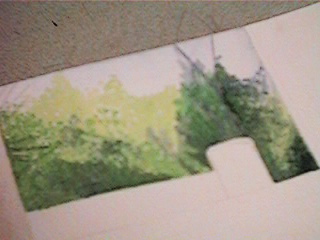
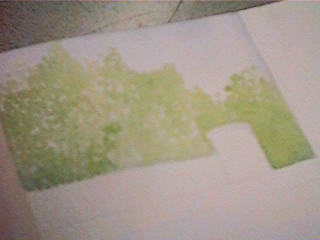
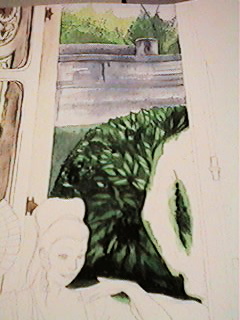
The wall is painted with even more contrast in its lights and darks. Just a little more detail is added to it than the trees, creating a feeling of being even closer still. A wash of dark green has been placed over the apparently grass space. Individual blades of grass would be too far away to discern, so they are not added. The leafy shape directly outside will have the most detail in this area. Since we are still working from light to dark it has been stained light and allowed to dry fully before proceeding.
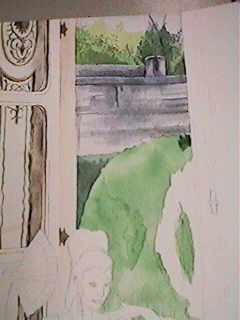
Medium dark greens are painted over the lighter green area to fill the negative space between leaves. This starts to define the foliage through both the use of recognizable shapes, and the inclusion of darkened values which create the illusion of shadowed depths between the leaves. It is also most noticeable here that the outline of the gentleman caller has been compromised by the lighter green. This will not be a problem since his silhouette will be very dark, covering everything underneath. A little over painting, when appropriate, is a good way to make sure seams mesh well.
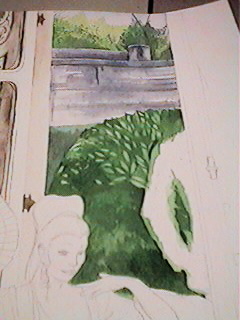
Finally, an extremely dark green is mixed from green plus red, and even deeper shadows are added in a very similar way.
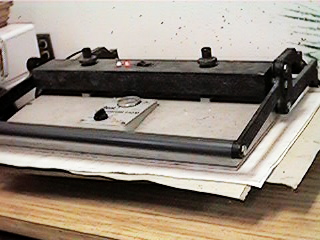
The figures are painted in a very straightforward manner with a 000 brush and a pen used for detailing. Once complete, the image is flattened in a dry mounting press to eliminate paper warpage.
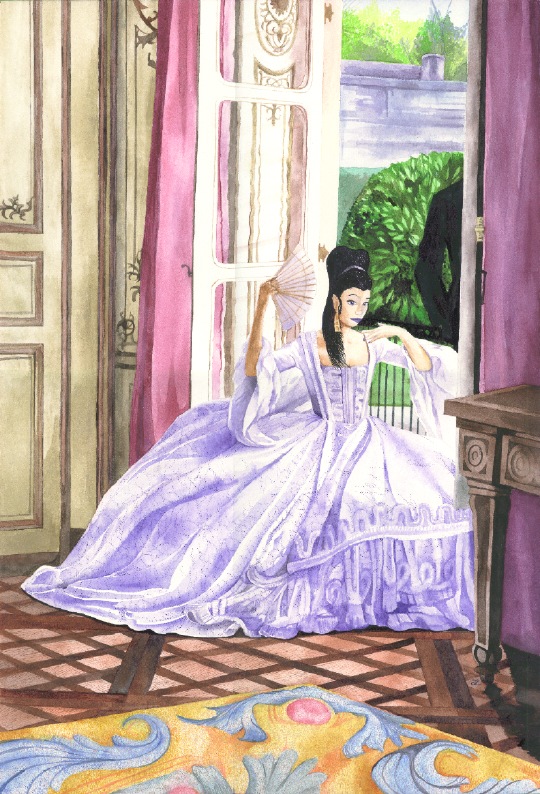
Here is the completed image, ever increasing in detail and contrast as the distance from the viewer decreases.